Custom Pin Boards
🖼️📌😍
I’m sure you’ve seen many tutorials for custom pinboards, but among the ones I found, most were too expensive, cheap-looking, or flimsy, so I tried to find a nice middle ground for sturdy, lightweight boards. Nothing groundbreaking, but I figured I’d share my approach if you are also looking to make some!
Steps with images and links are below if you’re like me and need to see it visually, but TL;DR glue cork foam sheets on plywood and staple fabric on top.

What You’ll Need
Plywood
Cork Foam Boards
Modge Podge
Foam Brush
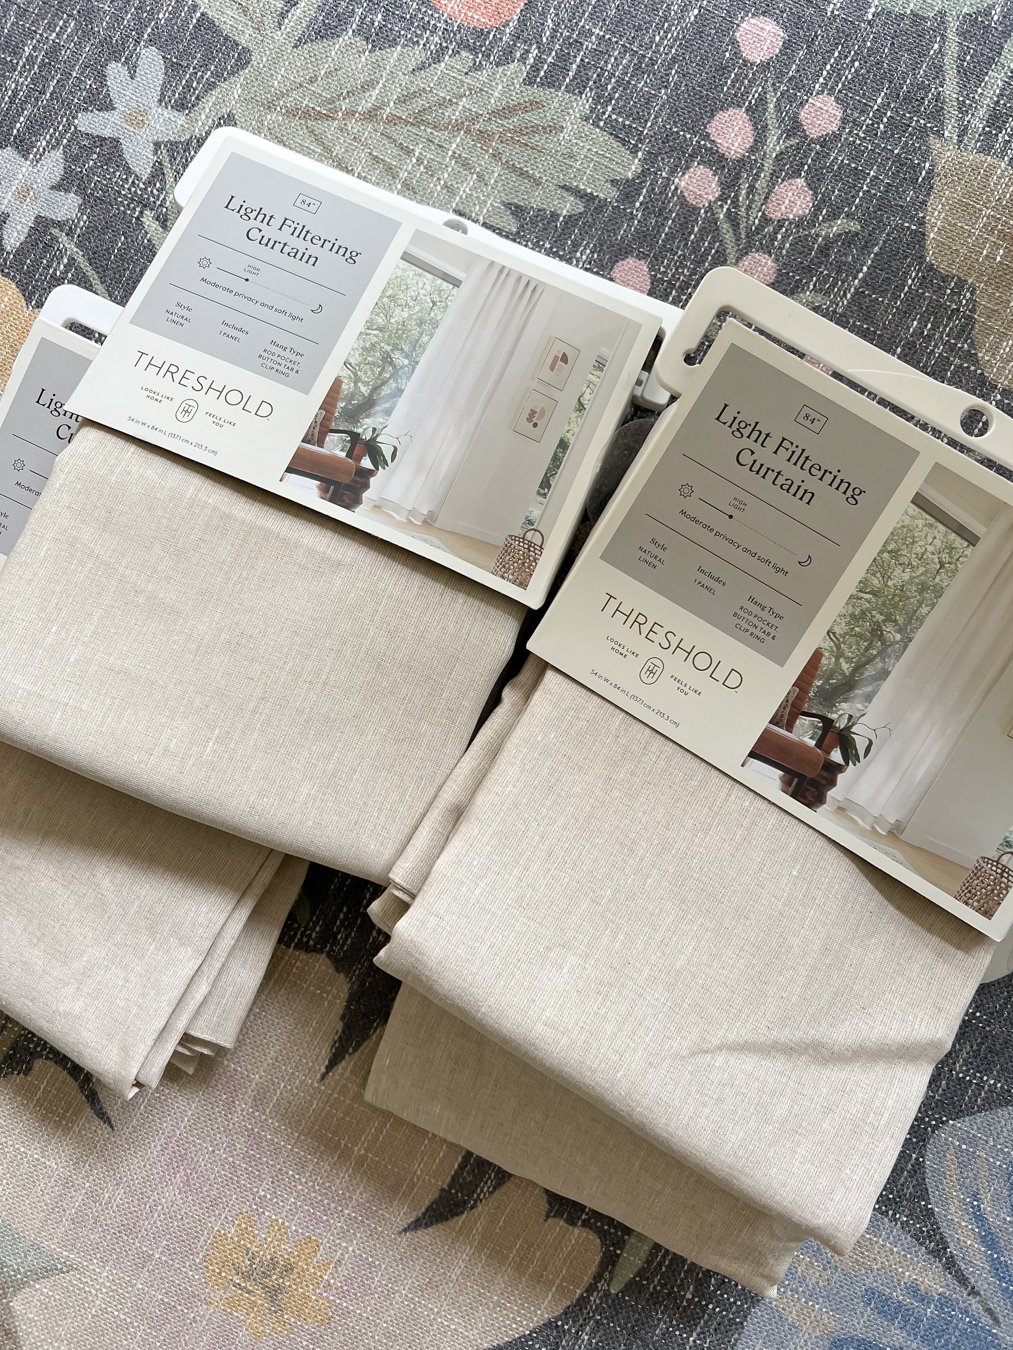
Fabric
Staple Gun & Staples
Scissors
Box Cutter or X-acto Knife
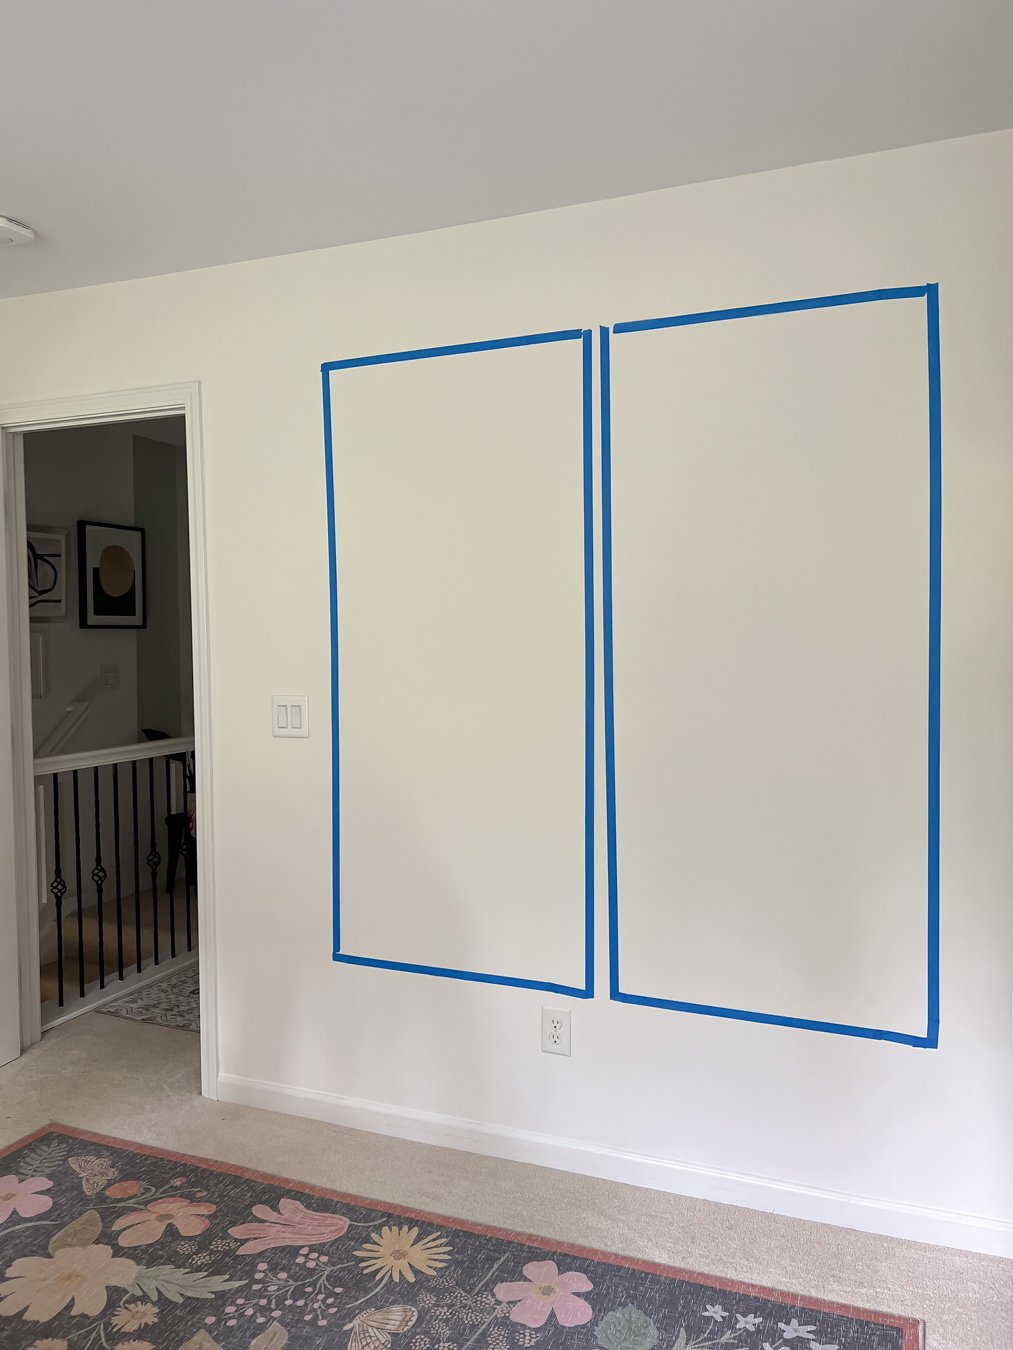
Step 1 〰️ Choose Size of Boards
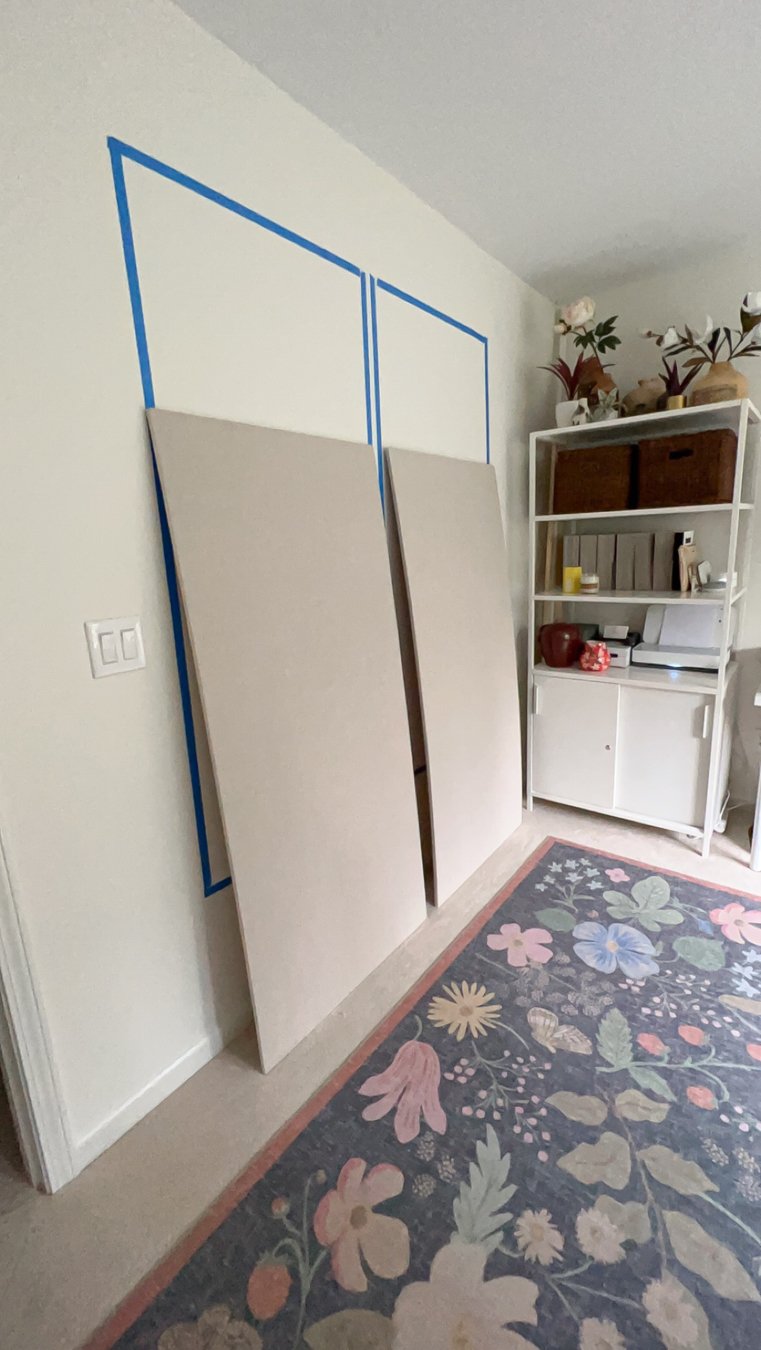
The first step is to figure out the size you want. To do the least amount of work I chose the length of the cork foam sheets I used to be the width of my boards to only have to cut one side down. Additionally, I taped it out to see the scale in person.
Step 2 〰️ Purchase All Materials
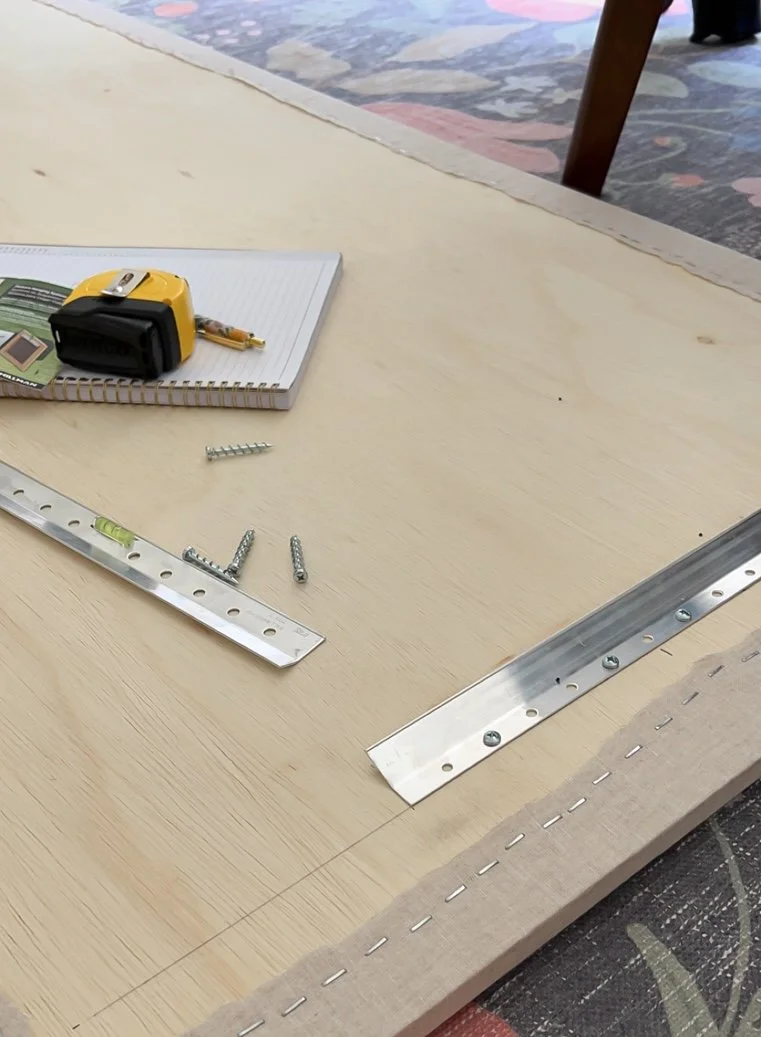
Step two is to buy all the things - plywood in the overall size (I just got some from Lowes and had them cut it down), however many cork foam core sheets you need for the size (got mine from Michaels - coupon codes always available), fabric (I bought target curtains that are linen and a little bit bigger than the size I made because it was easiest to me), and the other tools listed.
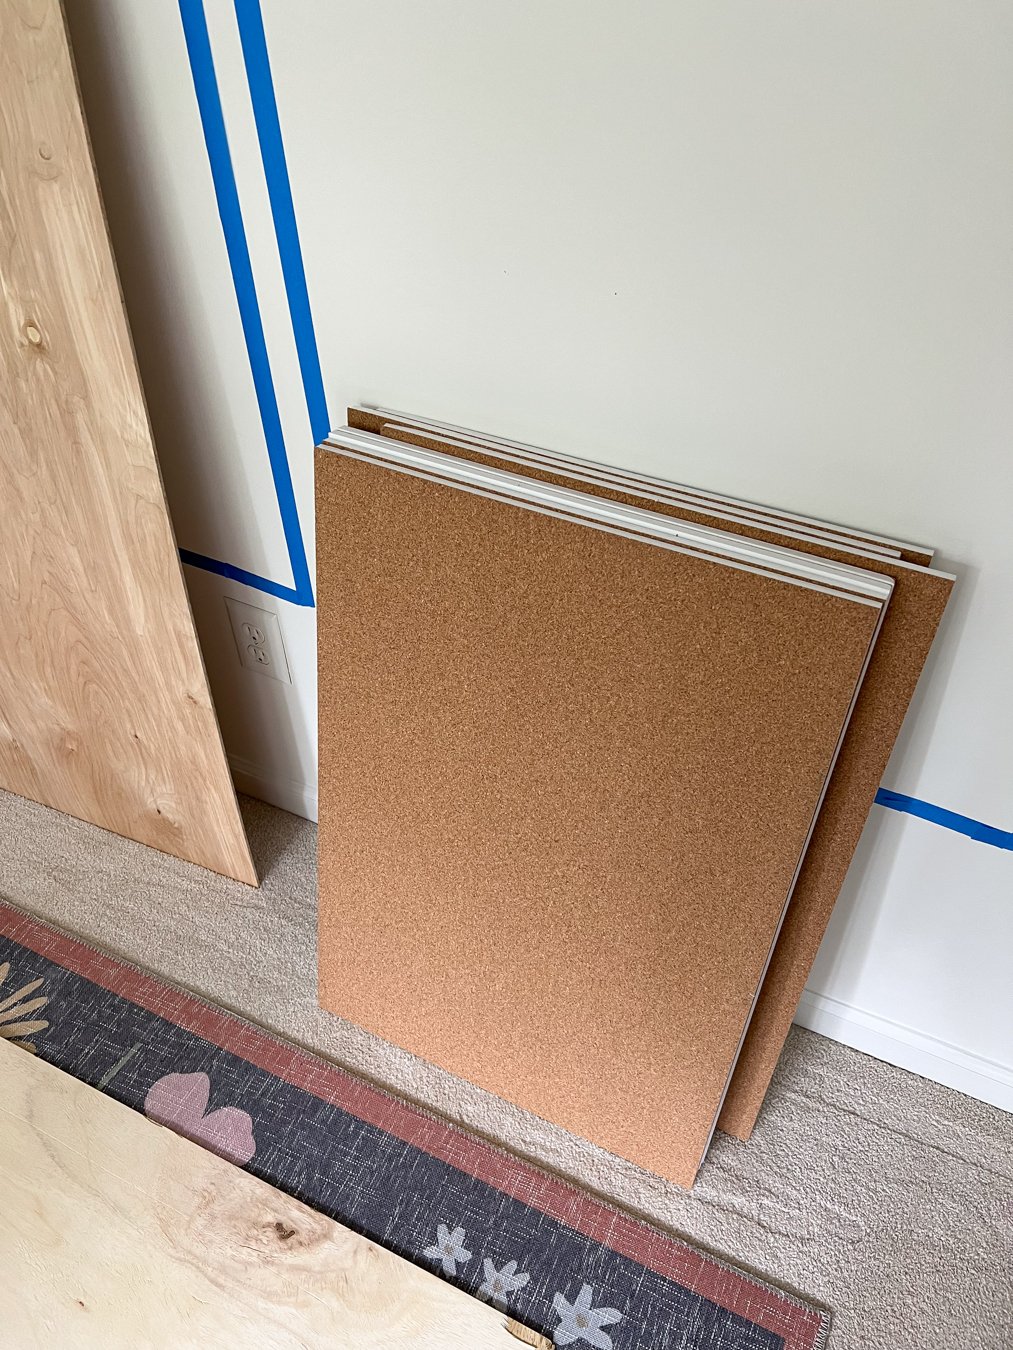
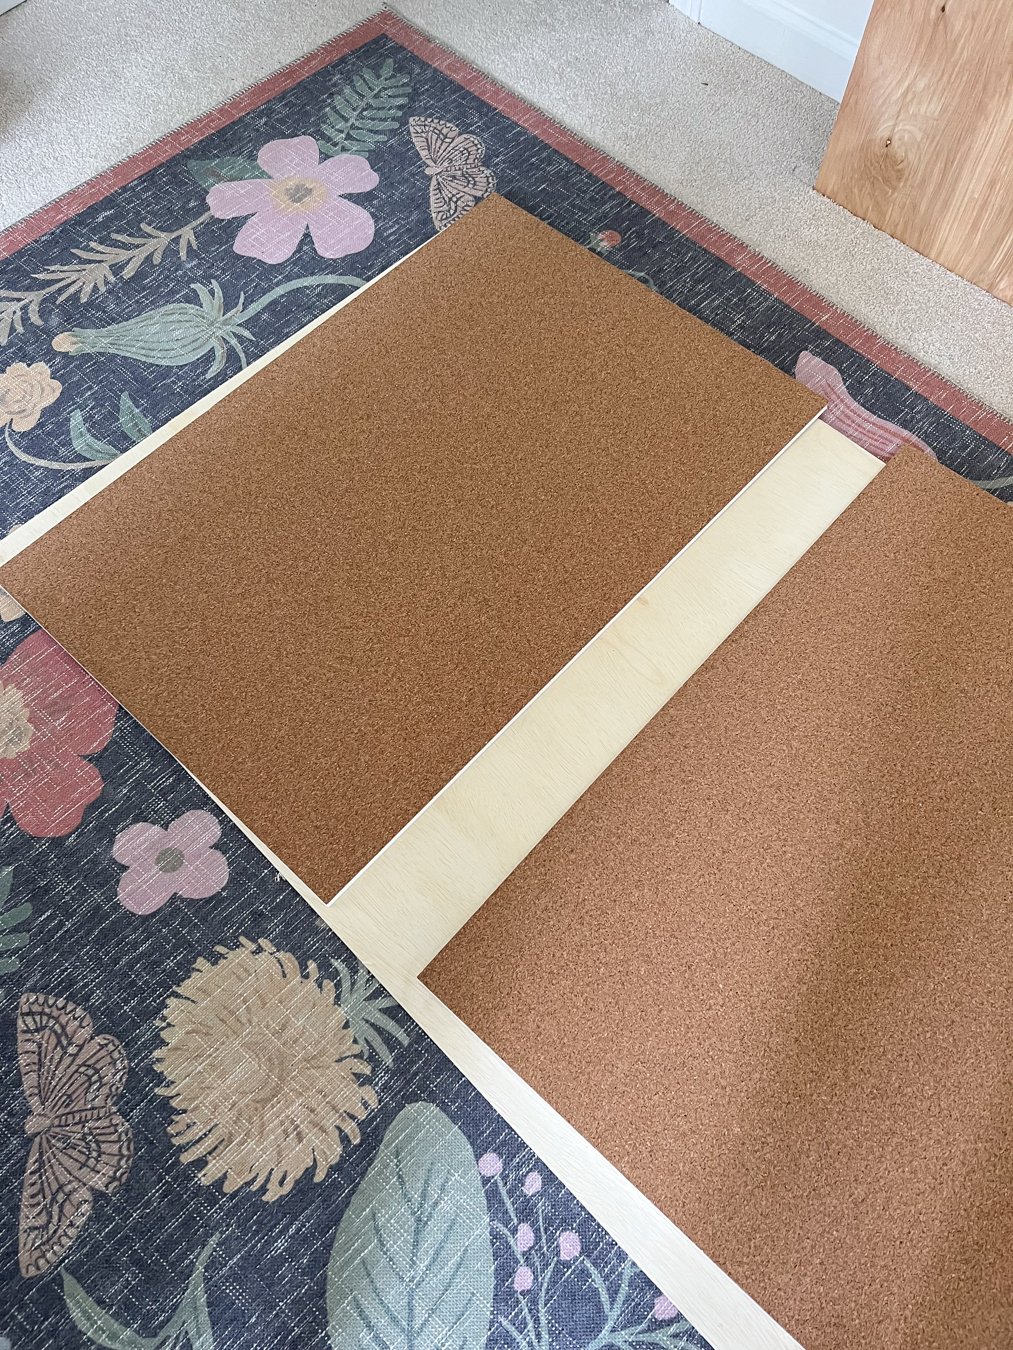
Step 3 〰️ Layout, Cut & Glue
Lay the cork boards on top of the plywood and cut them to size so the plywood is covered. Then, modge podge the back of the corkboard and the plywood, one sheet at a time, until the board is covered. Weigh down the boards while drying to keep them flat.
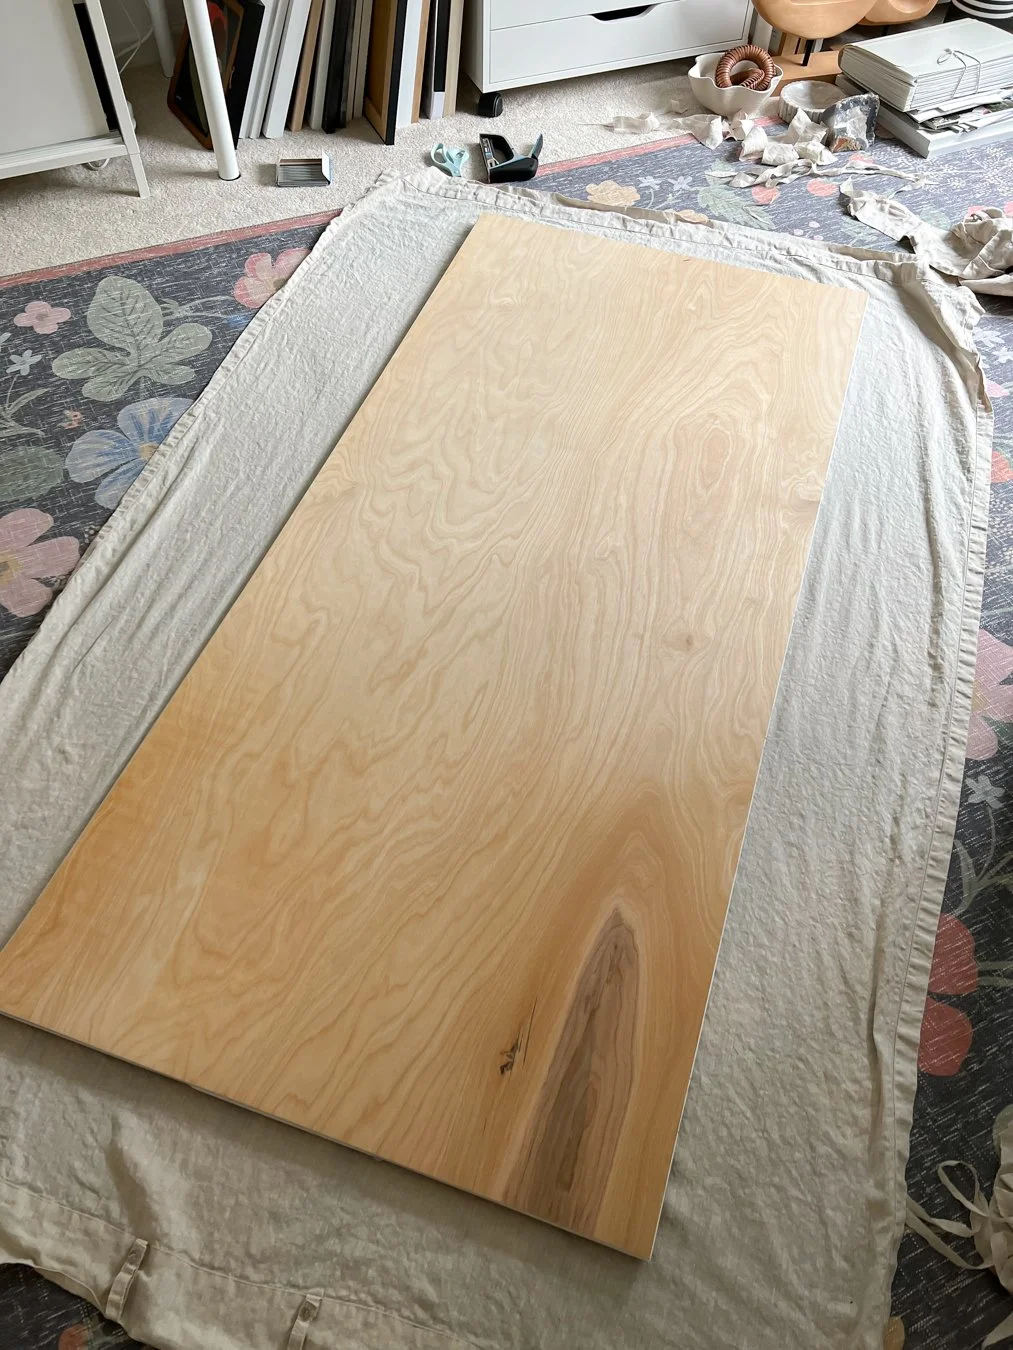
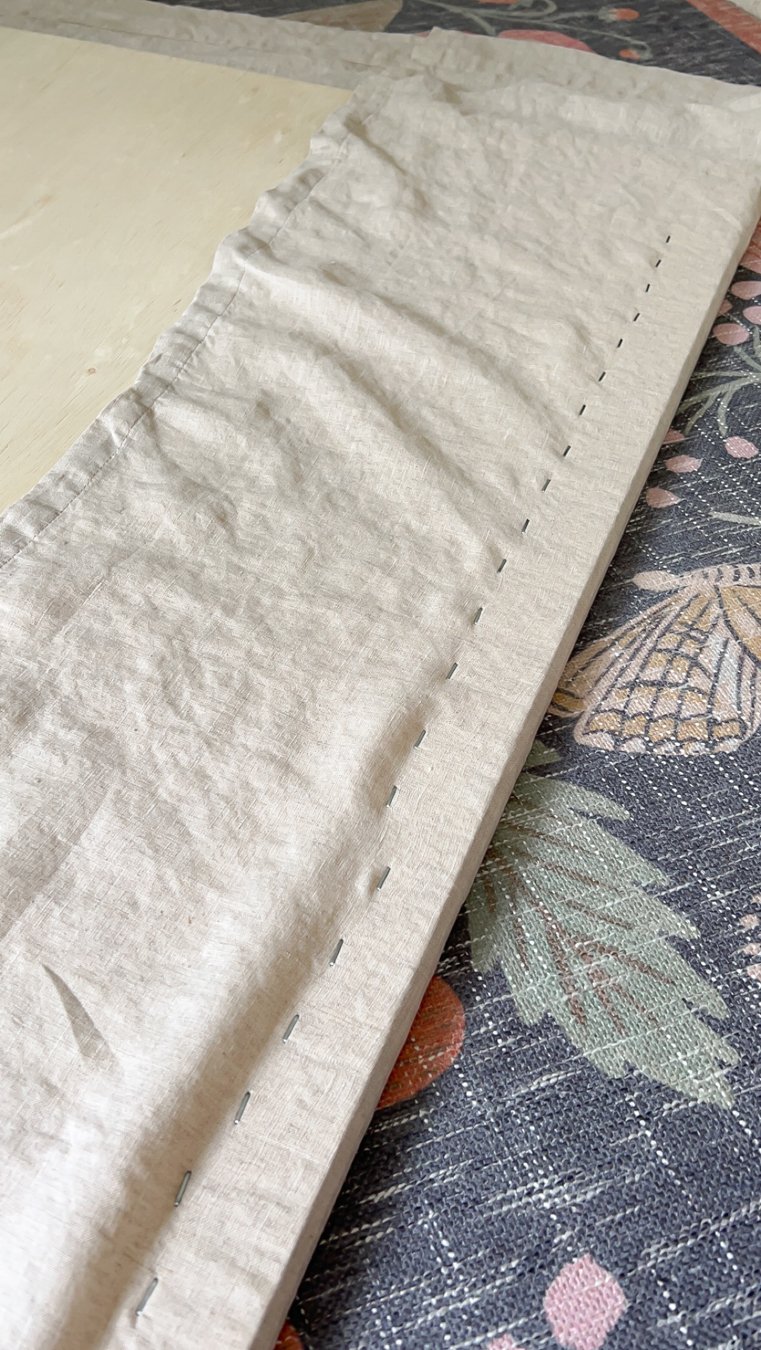
Step 4 〰️ Attach Fabric
I washed, dried, and ironed my curtain linens because I’m neurotic, but lay the fabric out, put the board down (cork side down), and fold it back over the edges. Staple the fabric down on the back side about an inch in. Just be sure to pull it taut when stapling. Cut off the excess fabric on the back.
Optional Step 5 〰️ Hang Boards
This last step is optional, but I hung my boards with picture hangers because I wanted them off the ground. They aren’t that heavy, but I knew I could get them level this way.
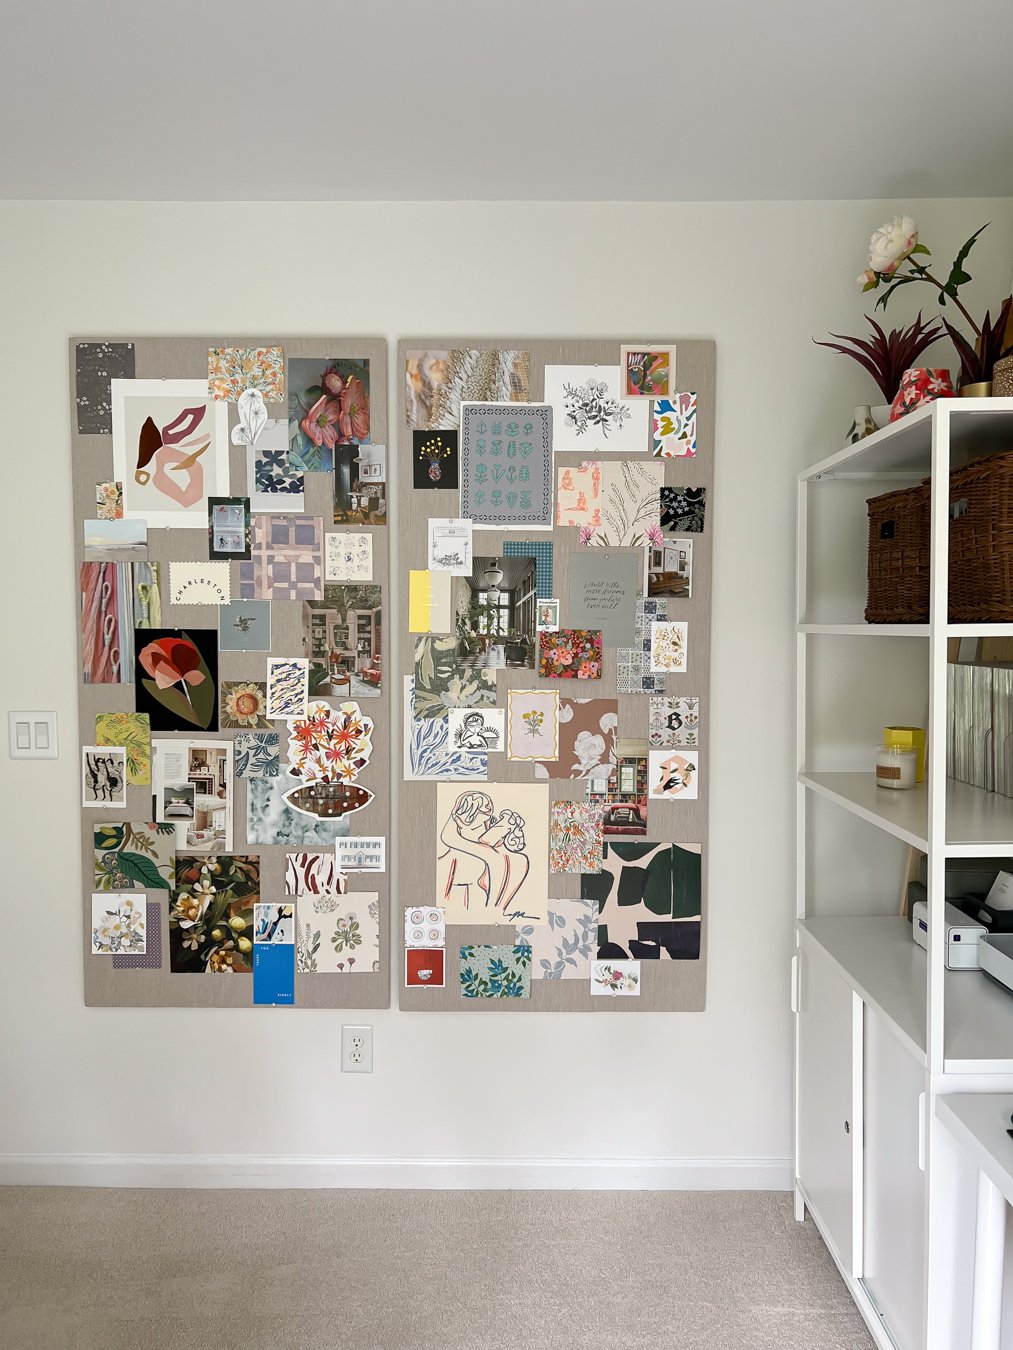
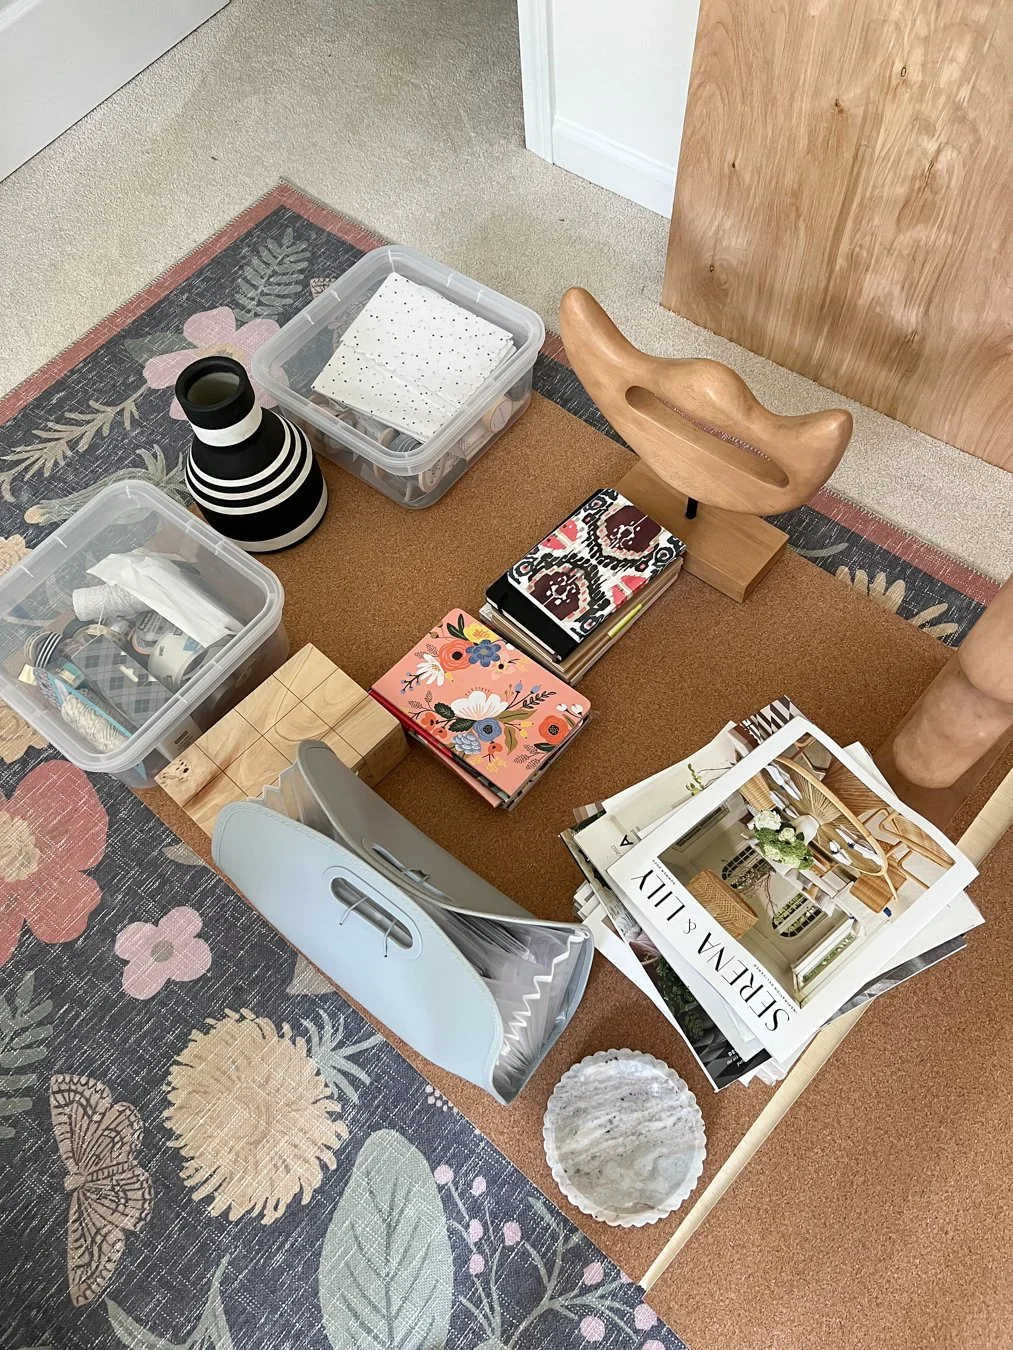
Step 6 〰️ Decorate!
Now that your boards are up, decorate away! I love taking scraps and art I’ve collected over the years to create these boards. I also print out screenshots in my phone to add new inspiration along the way.